| Friends Of The Little Bighorn Battlefield |
The Next Generation In The Study Of Custer's Last Stand |
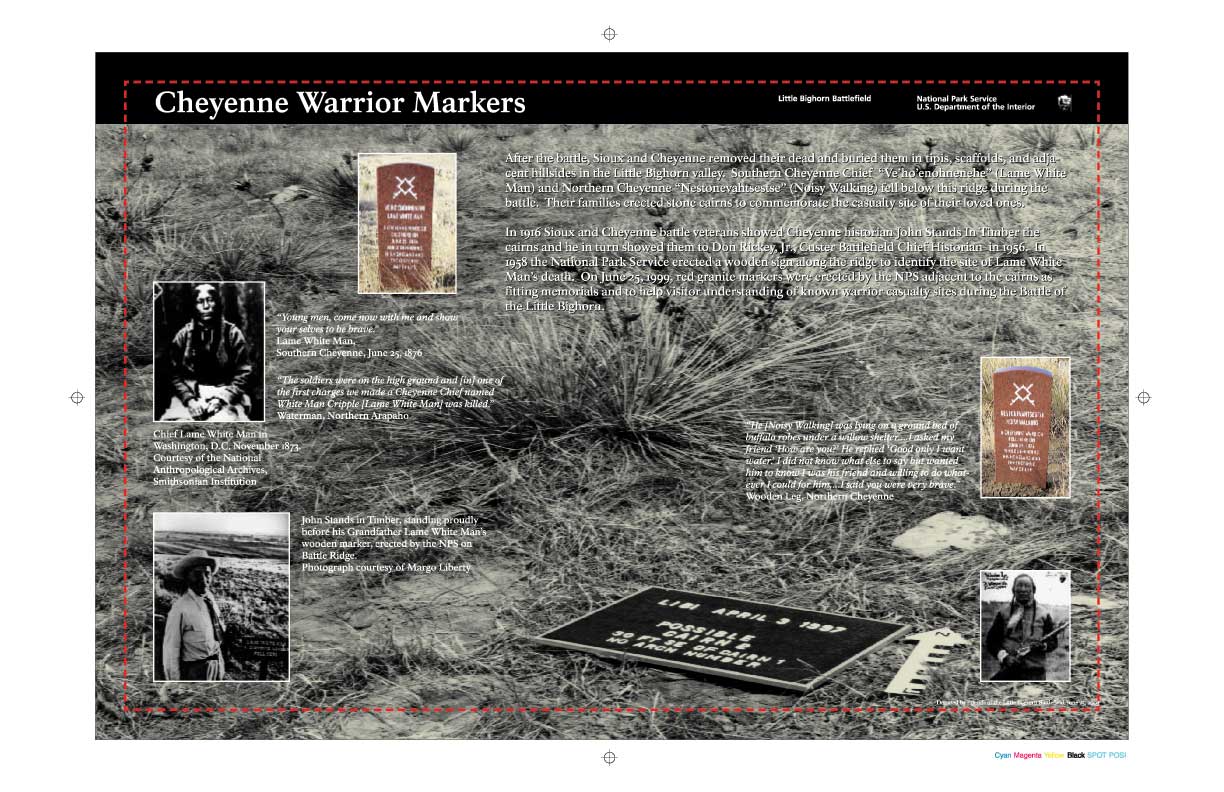
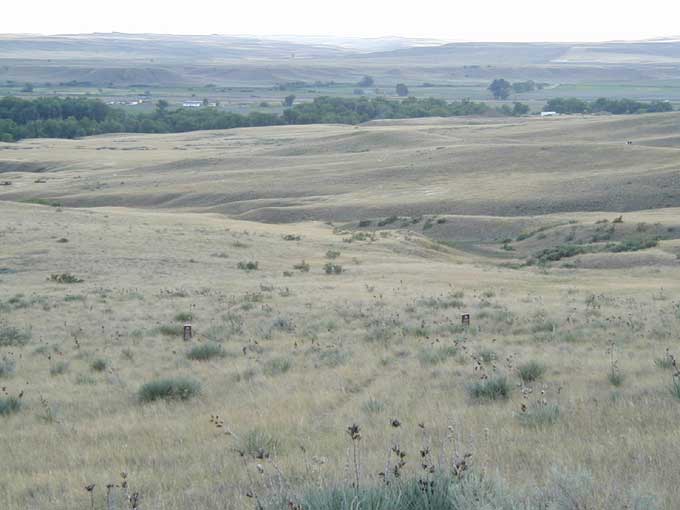
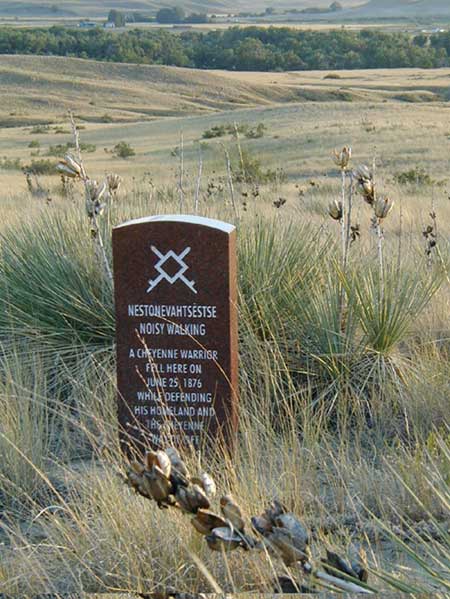
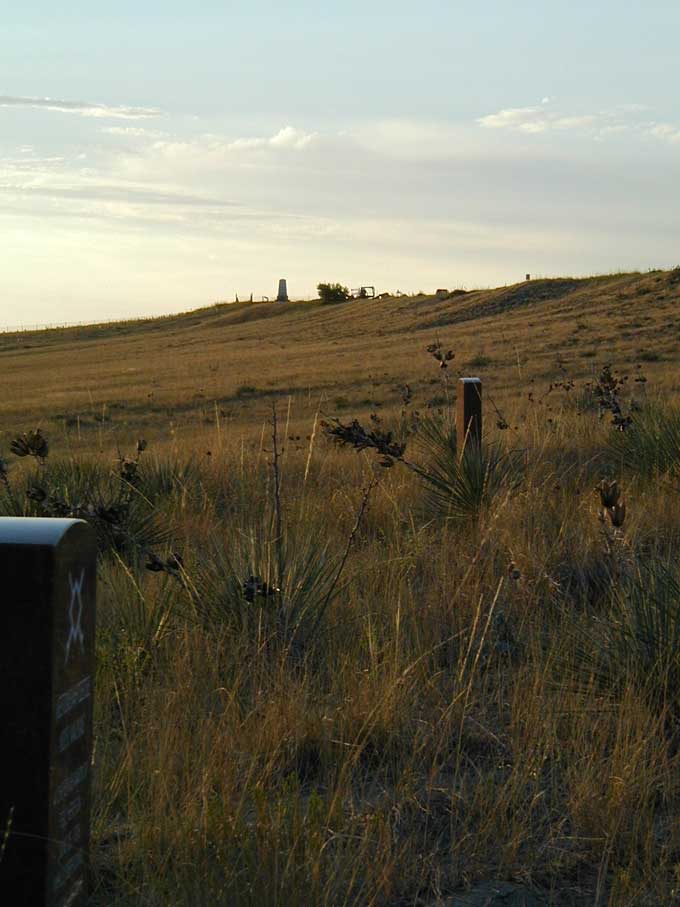
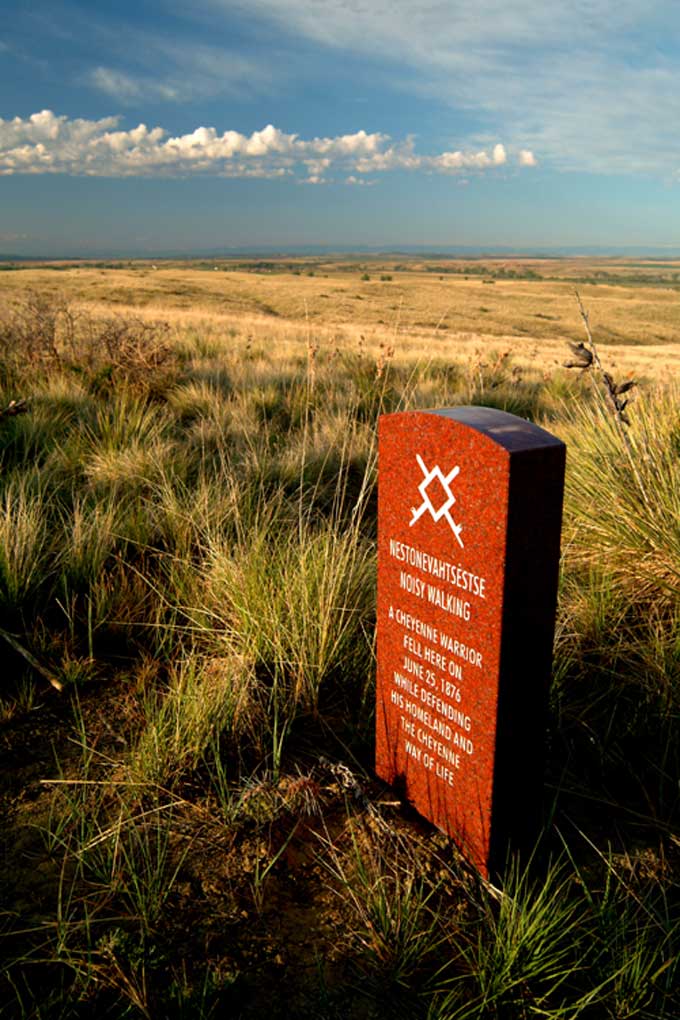
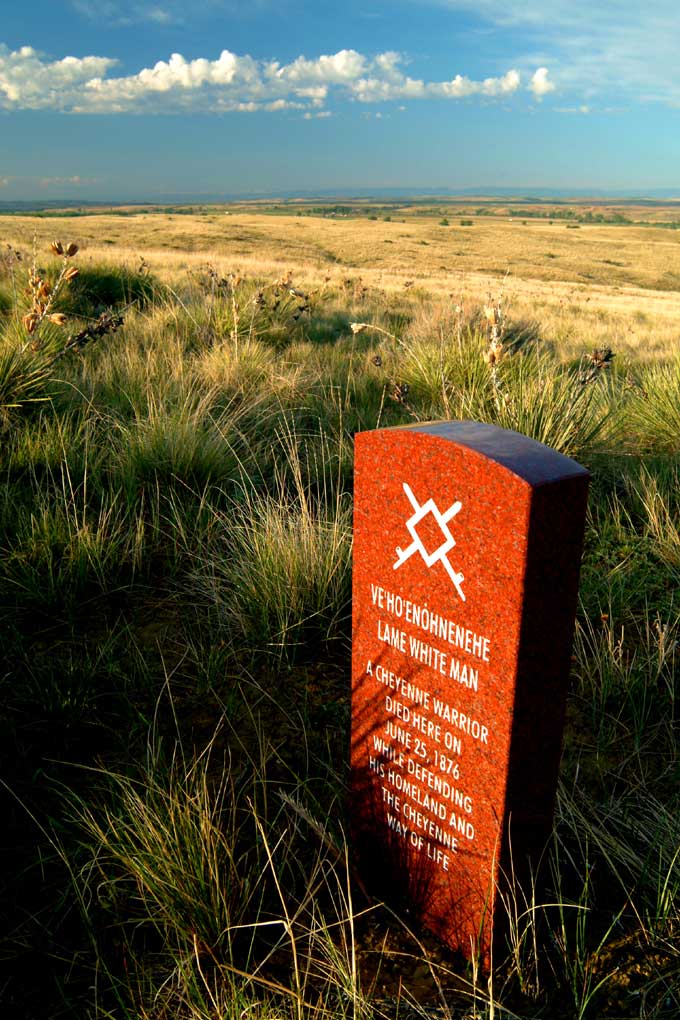
Cheyenne Markers |
| • The Battle • Archeology • Memorials • Little Bighorn Store • News • Book Reviews |
More to See >> Suicide Boys
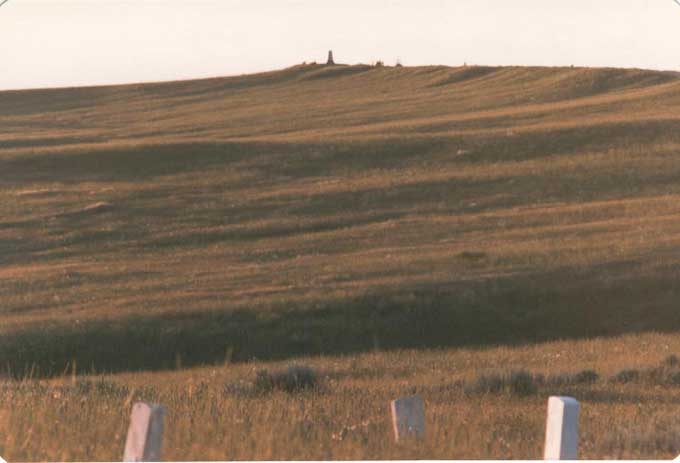
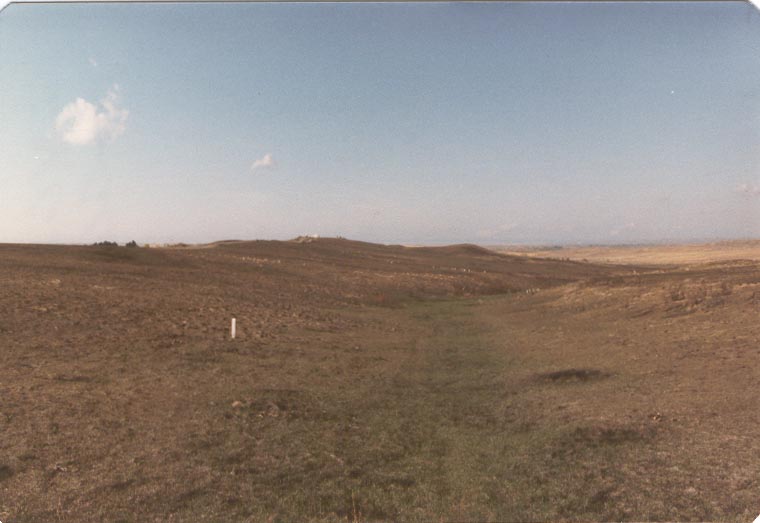
Photos below © Bob Reece
Wayside exhibit for the Cheyenne Markers donated by the Friends of the Little Bighorn Battlefield -- designed by John Doerner, former Chief Historian LBH (click on image to enlarge)
Lame White Man -- Southern CheyenneLame White Man, a 37-year-old Southern Cheyenne went into battle to encourage the young warriors. As a warrior, he was highly respected and his presence in this fight would have indeed motivated the warriors to fight harder. At the southeast end of Battle Ridge were deployed Companies L and C. Company L under the command of Custer’s brother-in-law First Lieutenant James Calhoun would hold the high ground of this part of the ridge. Deployed about 100 yards down and to the southwest of Company L was Company C commanded this day by Second Lieutenant Henry Harrington. Harrington was never identified by fellow soldiers as they buried the dead on June 28. Leading the different platoons were First Sergeant Edwin Bobo of Ohio, the Irishman Sergeant Jeremiah Finley, and the German born Sergeant George Finckle. Most theories place the remaining three Companies E, F, and I with Lieutenant Colonel George Armstrong Custer further north, and deployed in different areas along Battle Ridge. Company I, under Captain Myles Keogh, was held in reserve behind Company L. Company F was in skirmish order in the present Custer National Cemetery and Company E probably in the basin just below Last Stand Hill. These were the approximate dispersals of the five companies as the Indians entered the field from the south and west. Large contingents of warriors were firing long range at Companies C and L from Greasy Grass Ridge (which parallels Battle Ridge from the south and west).
It was from somewhere near Greasy Grass Ridge that Lame White Man yelled out to his warriors to follow him, that they could kill all the soldiers. Leading this charge, Lame White Man and hundreds of warriors overwhelmed the brave soldiers of Company C. The fighting was fierce, hand-to-hand and the soldier survivors began to pull back to Company L and over Battle Ridge to meet up with Keogh’s Company I.
Lame White Man’s charge continued over the center of Battle Ridge. It was near there that a Lakota warrior mistook Lame White Man for a soldier scout, so he killed and scalped Lame White Man. When the battle was over, the Lakota warrior discovered his grievous mistake and in mourning, returned the scalp to Lame White Man’s family. Lame White Man was buried in a rocky hillside near the Bighorn Mountains. The Lame White Man charge was the beginning of the end of Custer’s five companies. Crazy Horse would lead a charge from the opposite direction that cut off Keogh’s company from the Custer end of the ridge.
Photos copyright Jim Eshelman
Please visit "Custer's Last Stand" to learn about the battleMemorials HomeHistory of the Warrior Markers |
||||||||||||||||||||||||||||||||||||||||||||||||
|
Copyright 1999-2013 Bob Reece Friends Little Bighorn Battlefield, P.O. Box 636, Crow Agency, MT 59022 | Home |
Board of Directors |
Guest Book | Contact | Site Map
| |
||||||||||||||||||||||||||||||||||||||||||||||||