The Final Moments Along
Battle Ridge
All photos
© Bob Reece unless otherwise noted
Lt. Col George Custer placed Companies C and L on the
southern end of Battle Ridge where they maintained a steady, long range fire
as more Indians moved into position south and west. The warriors were
well armed with repeating rifles and extremely accurate bow and
arrows.
Lame White Man Attacks
19.
 19a. 19a.
 20. 20.
 20a.
20a.

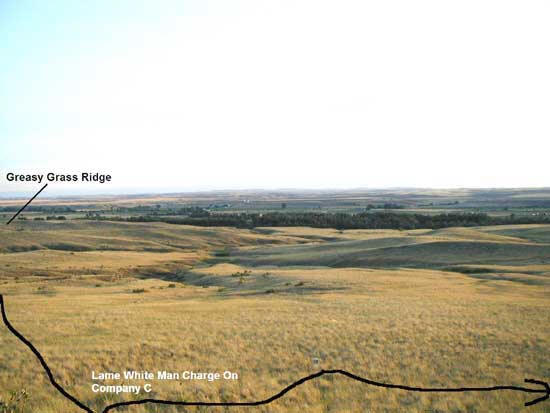
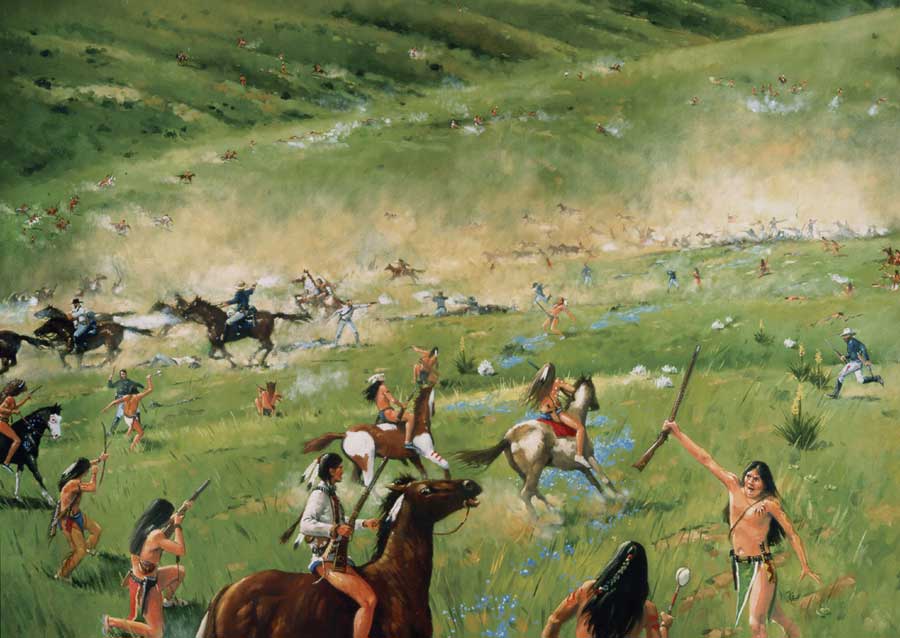
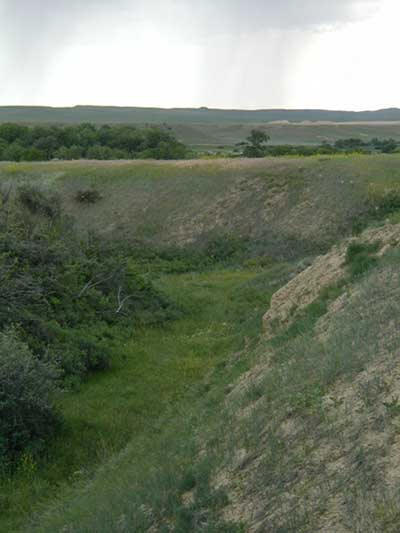
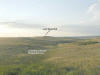
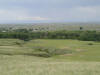
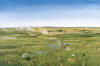
Picture 19 looks NW--From Greasy Grass Ridge, Lame
White Man of the Cheyenne tribe yelled, "Come on boys, we can kill
them all!" During the charge against Company C, the warriors stampeded
the soldier's horses and just about wiped-out all the troopers.
Lame White Man died during the attack.
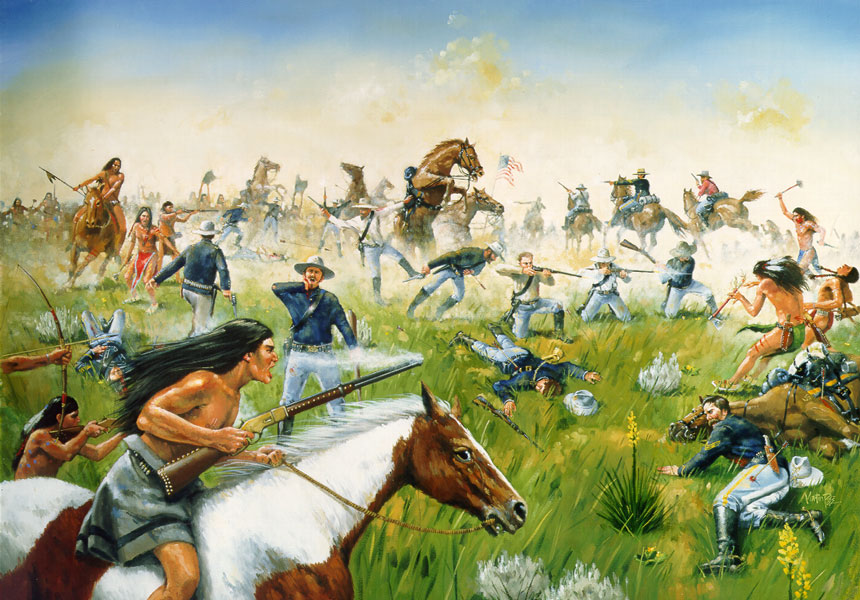
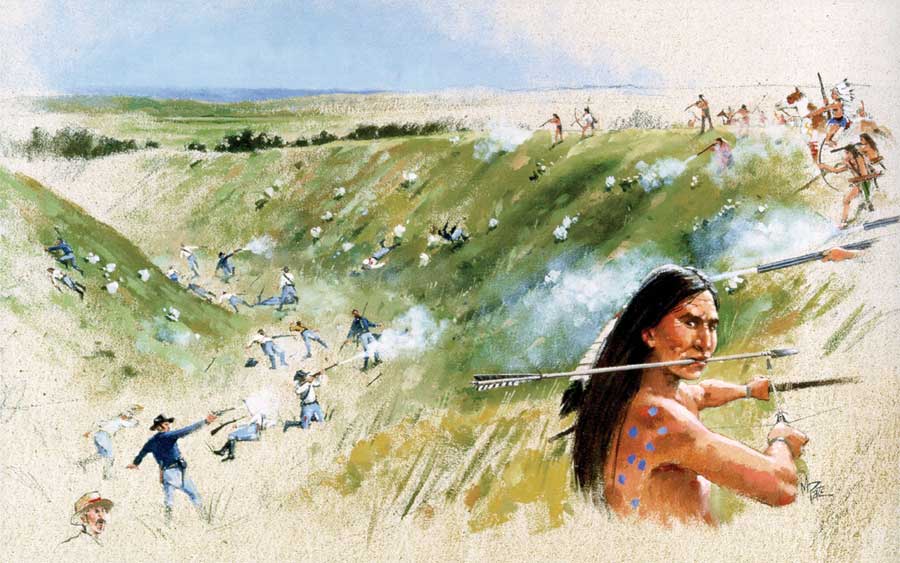
Picture 19a--Pate's "Lame White Man's Charge."
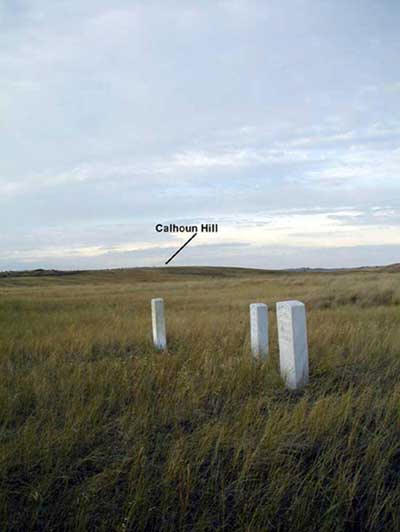
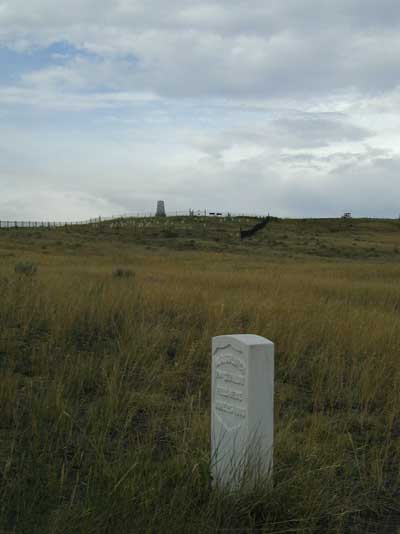
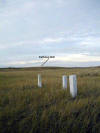
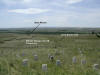
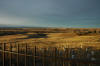
Picture 20 looks east--Some soldiers made it back to
Company L and even Company I which was held in reserve on the opposite
side of Battle Ridge. These headstones are of Company C.
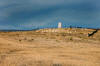
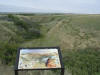
Picture 20a -- Greasy Grass Ridge wayside exhibit
today.
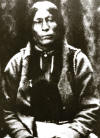
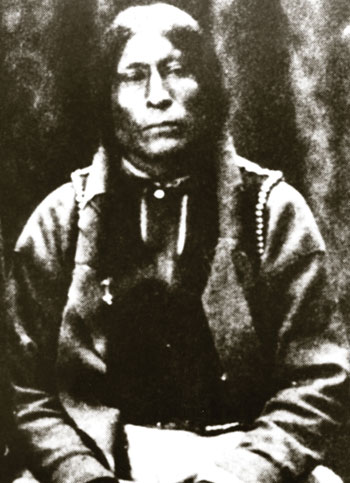
Lame White
Man -- Southern Cheyenne
Calhoun Hill Falls
21.
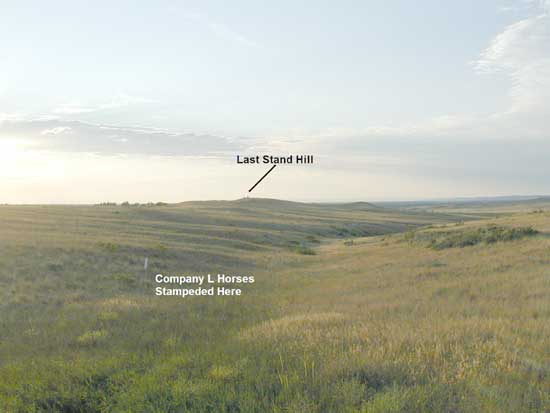
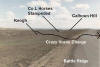
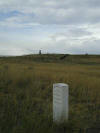
Picture 21 looks northwest--With Company C collapsing at
the south end of Battle Ridge, the warriors were able to turn their
full attention toward Calhoun Hill. It didn't take long for Company L
to fall with the warriors stampeding the horses.
Crazy Horse Attacks
22.
 23. 23.
 23a. 23a.

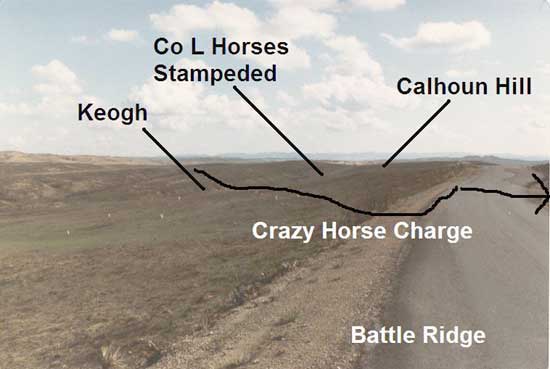
Picture 22 looks SE--While the fighting was taking
place with Companies C and L the great war leader of the Lakota, Crazy Horse and hundreds of warriors were
preparing to fight behind these ridges unseen by the soldiers.
Suddenly, the Keogh troops found themselves under attack by Crazy
Horse cutting them off from Custer's command. Crazy Horse's charge
carried itself over Battle Ridge.
Picture 23 looks south--A view of the Keogh fight from
near Last Stand Hill.
Picture 23a--Pate's "Fall of Keogh."
24.
 25.
25.
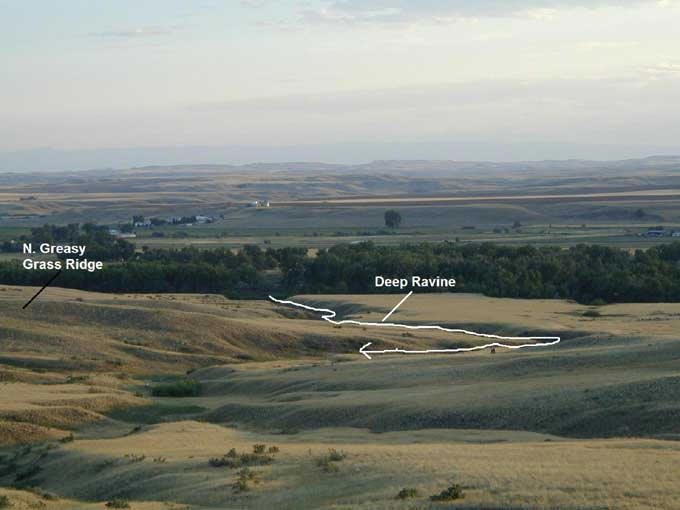
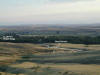
Picture 24 looks west--Indians moved in massive
numbers through the deep ravines and coulees. The soldiers were
fighting an invisible enemy as grass and yucca provided cover for the
warriors to move closer to the soldiers.
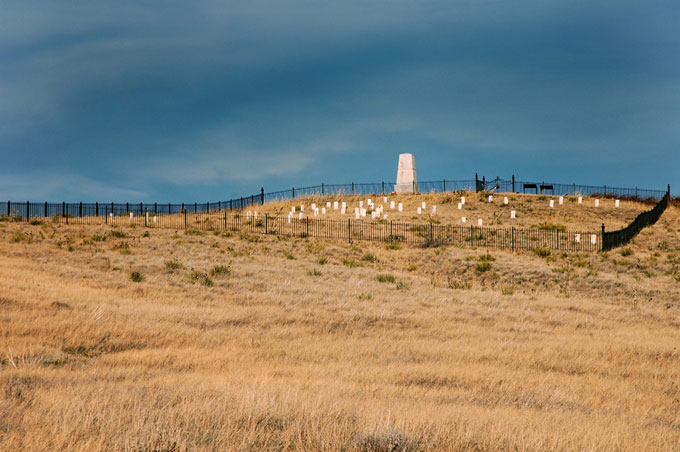
Picture 25 looks NE--Custer established his command
post and field hospital on today's Last Stand Hill.
Tragedy In Deep Ravine
26.
 27.
27.
 27a.
27a.
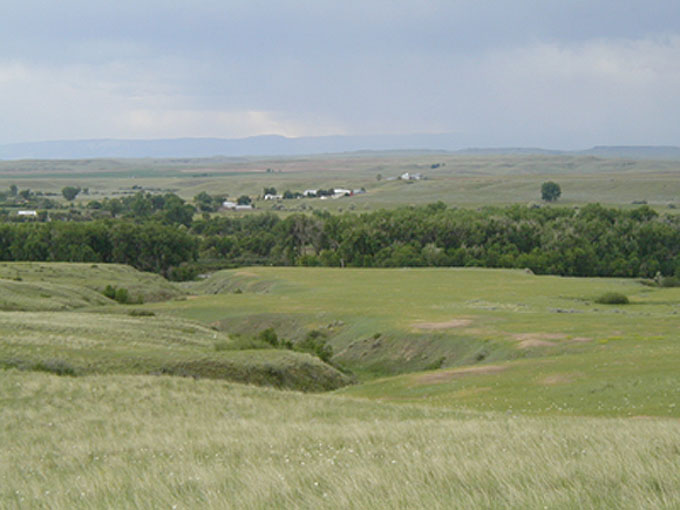
Picture 26 looks west--As warriors moved closer to the
command post hidden by the Deep Ravine, they came within range for
their repeating rifles and began to inflict heavy fire toward the
soldiers on Last Stand Hill.
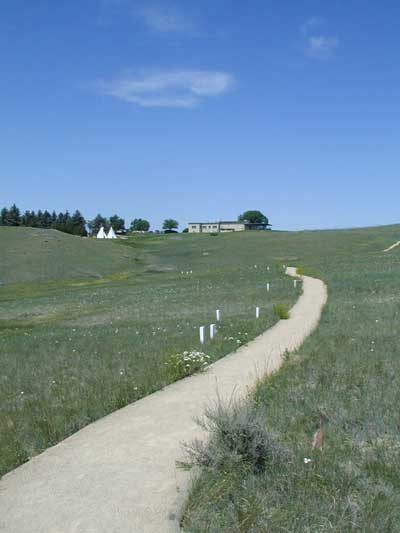
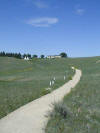
Picture 27 looks NE--Company E charged on foot, toward
Deep Ravine, and formed a skirmish line here (Deep Ravine Trail) and
fired into the warriors. This action took the warriors by surprise
forcing them to move back temporarily. Custer and Company F remained
on Last Stand Hill.
Picture 27a-- Pate's "Pursued towards Deep Ravine"
28.
 29. 29.
 29a. 29a.
 29b.
29b.
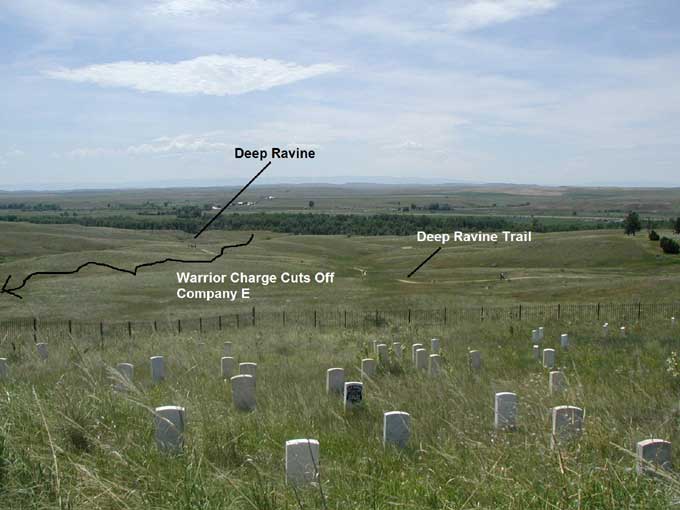
Picture 28 looks west--The warriors regrouped and
charged Company E cutting them off from Last Stand Hill.
Picture 29 looks north--Intense hand-to-hand fighting
in the heat, dust, and gun smoke confused the soldiers. The ravines and
gullies seemed to swallow the soldiers as they were forced in the Deep
Ravine. 28 soldiers fought hard from this ravine. Warriors shot
bullets and arrows from above, many jumping in to fight hand-to-hand.
It wasn't long before all the soldiers were killed.
Picture 29a--Pate's "Deep Ravine."
Picture 29b. -- Deep Ravine wayside exhibit; photo
taken the day of its unveiling June 25, 2004.
The Last Stand
30.
Picture 30 looks north--Now, the warriors only had to
look toward Last Stand Hill and the last of Custer's soldiers. The warriors
acquired the Springfield carbines from the dead soldiers and formed a
complete circle around the last of Custer's command. Soldiers shot
their horses for breastworks. One by one the soldiers died, the firing
lessened. Battle Ridge and Last Stand Hill was covered in dust and
smoke. Wounded soldiers and warriors cried out.
31.
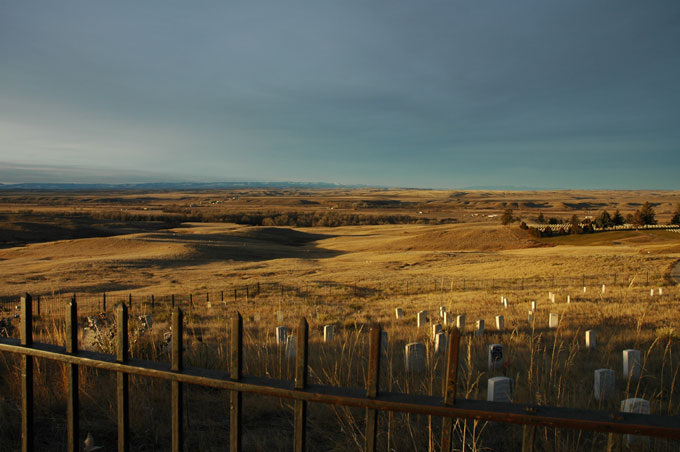
Picture 31 looks south from Last Stand Hill--It was over. The last of
Custer's 210 soldiers fell. Out of the 12 companies of the 7th Cavalry
268 men were consumed. Approximately 100 warriors died over
the two days fighting Custer and Reno.
The Battle of the Little Bighorn was just one of many
battles fought during the Sioux War of 1876. However, it has captured
the imagination of people from all over the world and will continue to
do so.
(Back
to Top)
|